
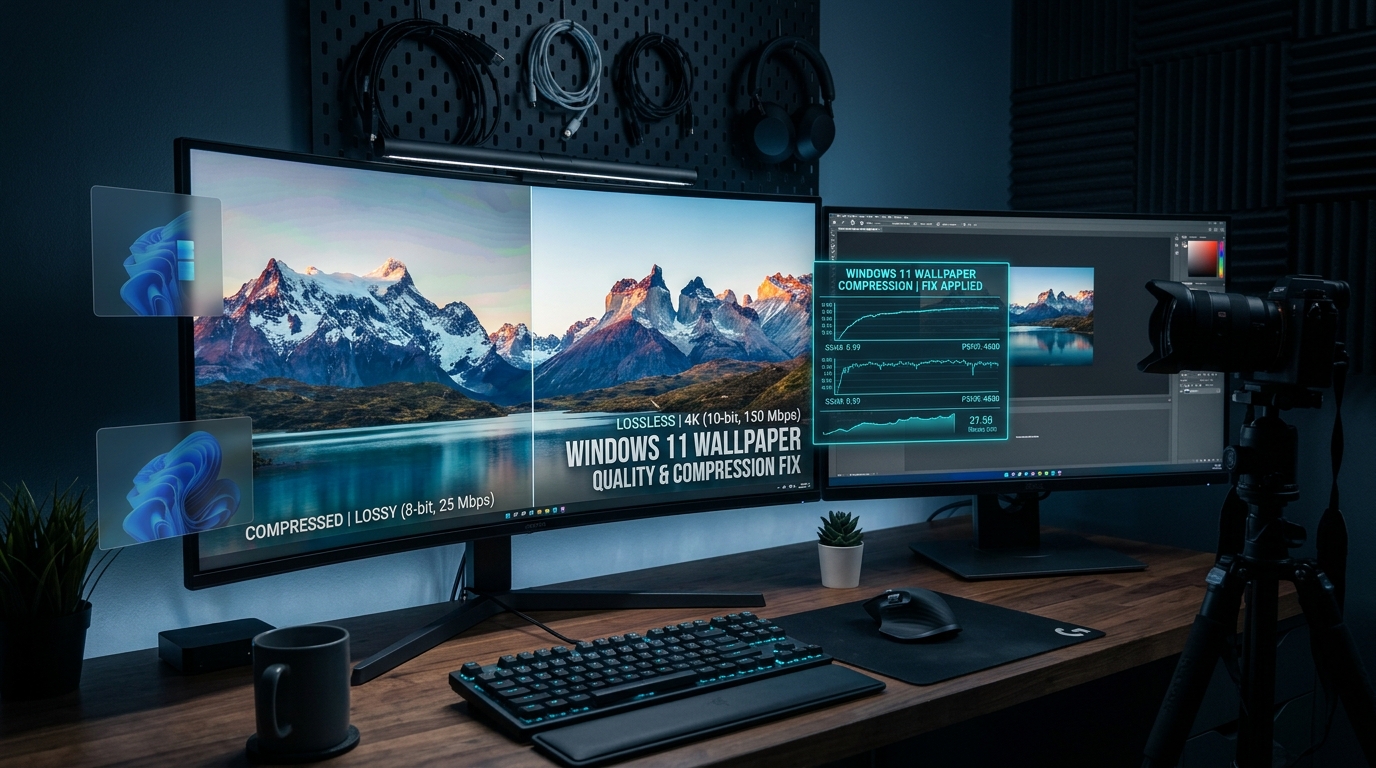
Windows 11 automatically downsamples all imported JPEG desktop wallpapers by 15%, reducing image quality to an 85% compression threshold to conserve system memory and accelerate shell load times. When you set a high-resolution 4K or ultra-wide background image, the Windows Desktop Window Manager (DWM) transcodes your pristine source file into a compressed, lossy cache file named TranscodedWallpaper inside your local AppData directory. This built-in downsampling introduces noticeable macro-blocking, micro-banding in subtle color gradients, and edge degradation across high-DPI displays.
You can permanently disable Windows 11 wallpaper compression by modifying a single 32-bit DWORD value in the Windows Registry or by bypassing the transcoding engine entirely. Below is the complete, tested step-by-step technical guide to enforcing 100% uncompressed wallpaper quality across your Windows 11 workstation.
Quick Technical Summary (The 30-Second Fix)
Navigate to HKEY_CURRENT_USER\Control Panel\Desktop in Registry Editor. Create a new DWORD (32-bit) Value named JPEGImportQuality, set its base to Decimal, and enter a value data of 100. Restart Windows Explorer, delete the cached TranscodedWallpaper in %AppData%\Microsoft\Windows\Themes, and reapply your wallpaper.
Why Windows 11 Compresses Your Desktop Background
Windows executes an automated JPEG downsampling routine dating back to Windows 8 to safeguard low-memory environments from shell latency. Whenever an image is applied via the Windows Settings app or File Explorer context menu, the operating system converts and saves a downsampled copy inside %AppData%\Microsoft\Windows\Themes\TranscodedWallpaper. Because Windows strips the file extension from this cached asset, many users assume it is an uncompressed raw bitmap, but it is actually an 85% quality JPEG stream.
On standard 1080p monitors, an 85% compression profile is rarely perceptible during normal computing tasks. However, on modern 1440p, 4K, 8K, and OLED HDR displays, this compression algorithm produces distinct artifacts. Dark gradients exhibit stepping instead of smooth transitions, text labels within graphic backgrounds lose edge sharpness, and fine photographic textures appear muddy.
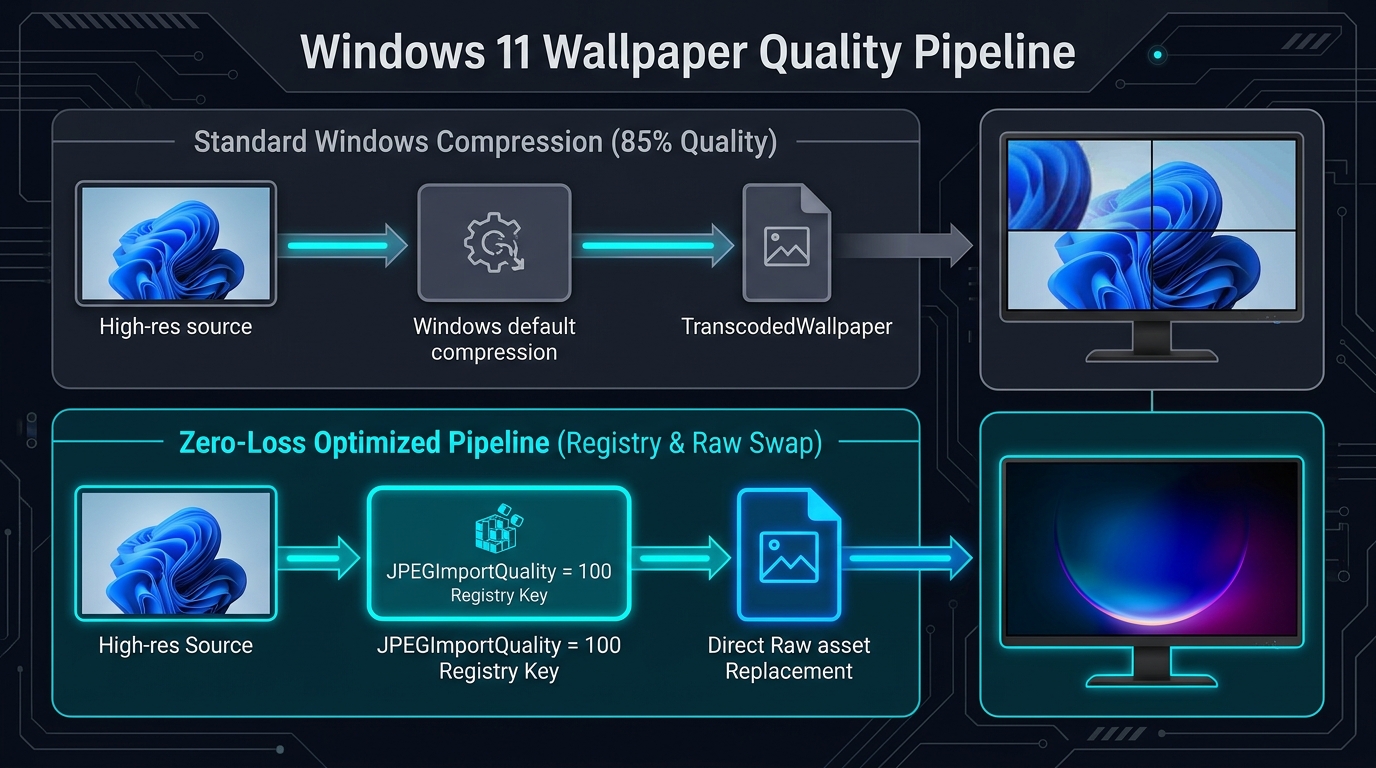
Figure 1: Windows default 85% transcode pipeline vs. the zero-loss uncompressed registry configuration.
Windows Wallpaper Compression vs. Native 100% Quality
Understanding how the rendering pipeline processes background image data reveals why default system behaviors degrade premium visuals.
| Metric / Feature | Default Windows 11 Behavior | With Registry Fix (100% Quality) |
|---|---|---|
| JPEG Import Quality | 85% (Hardcoded default downsampling) | 100% (Bit-for-bit lossless conversion) |
| Transcoded Cache File | Aggressively compressed JPEG asset | Full dynamic range preserved asset |
| Color Gradient Handling | Visible staircase banding & dithering rings | Smooth, continuous sub-pixel gradations |
| High-DPI / 4K Clarity | Softened contrast on fine line elements | Razor-sharp pixel-to-pixel mapping |
| RAM / Shell Performance Impact | Negligible difference on modern hardware | < 5MB additional RAM (Zero perceptible lag) |
Method 1: Stop JPEG Compression via Windows Registry (Recommended)
The most reliable permanent solution is creating the JPEGImportQuality key in the Windows Registry. This tells the Desktop Window Manager to preserve 100% of the input image’s native compression quality when processing desktop assets.
Step 1: Open the Registry Editor
Press Windows Key + R simultaneously to open the Run dialogue box. Type regedit into the field and press Enter. If the User Account Control (UAC) prompt appears asking for administrative permissions, click Yes.
Step 2: Navigate to Desktop Settings
Copy the following registry path and paste it directly into the top address bar of Registry Editor, then hit Enter:
HKEY_CURRENT_USER\Control Panel\Desktop
Step 3: Create the JPEGImportQuality DWORD
- Right-click on an empty space in the right-hand panel of the
Desktopfolder. - Hover over New and select DWORD (32-bit) Value. (Note: Select 32-bit DWORD regardless of whether your system is running a 64-bit version of Windows 11.)
- Name the newly created parameter exactly
JPEGImportQualityand press Enter. Ensure there are no spaces and spelling matches exactly.
Step 4: Configure the Value to Decimal 100
- Double-click the
JPEGImportQualityentry to open its edit window. - Under the Base section on the right, switch the radio button from Hexadecimal to Decimal.
- In the Value data field, enter
100. - Click OK to commit the registry change, then close the Registry Editor.
Critical Post-Registry Requirement: Clear Old Cache
Updating the registry does not retroactively enhance your currently loaded wallpaper. Windows continues displaying the old compressed TranscodedWallpaper file until you flush the cache or set the wallpaper again.
Step 5: Flush the Cache and Reapply Your Wallpaper
- Open Task Manager by pressing Ctrl + Shift + Esc.
- Locate Windows Explorer under the Processes tab, right-click it, and select Restart. Your taskbar and desktop will flash momentarily.
- Navigate to your original high-resolution JPEG wallpaper in File Explorer.
- Right-click the image and select Set as desktop background. Windows will now generate an uncompressed 1:1 render.
Method 2: Direct TranscodedWallpaper Injection (Lossless PNG / BMP Bypass)
Windows compresses imported JPEGs, but you can bypass the transcode engine completely by manually replacing the system cache file. This direct-injection method is ideal if your source file is an uncompressed PNG or 24-bit BMP image and you want to prevent Windows from applying any conversion routines.
- Prepare your wallpaper as a native PNG or BMP file cropped to your display’s native resolution (e.g., 2560×1440 or 3840×2160).
- Press Windows Key + R, paste the following path into the Run box, and hit Enter:
%AppData%\Microsoft\Windows\Themes
- Inside this folder, locate the file named
TranscodedWallpaper. Right-click it and rename it toTranscodedWallpaper.bakfor safety. - Copy your raw PNG or BMP image file and paste it into this
Themesdirectory. - Rename your pasted image file to
TranscodedWallpaper, making sure to remove the file extension entirely (e.g., remove.png). - Restart Windows Explorer via Task Manager or reboot your system. The desktop shell will render your raw uncompressed asset directly.
Method 3: Native Aspect Ratio Pre-Scaling (Prevent DWM Resampling)
Even with compression disabled, Windows 11 will resample and soften your background if the image aspect ratio or resolution does not match your monitor. When a 16:9 image is stretched across a 21:9 ultra-wide monitor, or when an 8K image is downsampled using basic bilinear interpolation by the desktop compositor, micro-blurring occurs.
To achieve absolute pixel-perfect reproduction, always pre-scale your wallpaper using professional photo editing tools or software before applying it:
- 1080p FHD: Exactly 1920 × 1080 pixels at 72/96 DPI.
- 1440p QHD: Exactly 2560 × 1440 pixels.
- 4K UHD: Exactly 3840 × 2160 pixels.
- 34-inch Ultrawide: Exactly 3440 × 1440 pixels.
In Windows Settings (Personalization > Background), always ensure the fit option is configured to Fit or Center rather than Stretch to avoid mathematical aspect distortion.
For users seeking broader systems optimization, reviewing our guide on improving productivity with system tools and our technical deep dives on operating system architecture provides valuable infrastructure context.
Frequently Asked Questions (FAQ)
-
Does setting JPEGImportQuality to 100 slow down Windows 11?
No, setting JPEGImportQuality to 100 does not slow down Windows 11. Modern computers equipped with NVMe SSDs and 16GB+ of RAM process a 5MB to 15MB uncompressed wallpaper in milliseconds. The 85% default compression threshold was originally implemented for legacy systems with mechanical hard drives and limited memory.
-
Why does my wallpaper still look blurry after applying the registry fix?
Your wallpaper remains blurry because Windows has not purged the cached TranscodedWallpaper file, or the image dimensions mismatch your monitor. After updating the registry, you must restart Windows Explorer, delete the old cached file in
%AppData%\Microsoft\Windows\Themes, and ensure your image matches your monitor’s native pixel resolution. -
Does Windows 11 compress PNG wallpapers automatically?
Windows 11 converts PNG wallpapers into a cached JPEG format under certain shell operations. While PNGs are inherently lossless, Windows often converts them into a lossy transcode file when applied through the standard background picker. To guarantee lossless rendering for PNGs, use the direct replacement method in the Themes directory.
-
Can I use a BMP file to stop wallpaper compression completely?
Yes, using a 24-bit or 32-bit BMP file bypasses lossy compression completely. Windows treats BMP files as raw pixel maps without applying JPEG compression routines. Converting your source wallpaper to an uncompressed BMP before setting it guarantees 100% pixel fidelity.
