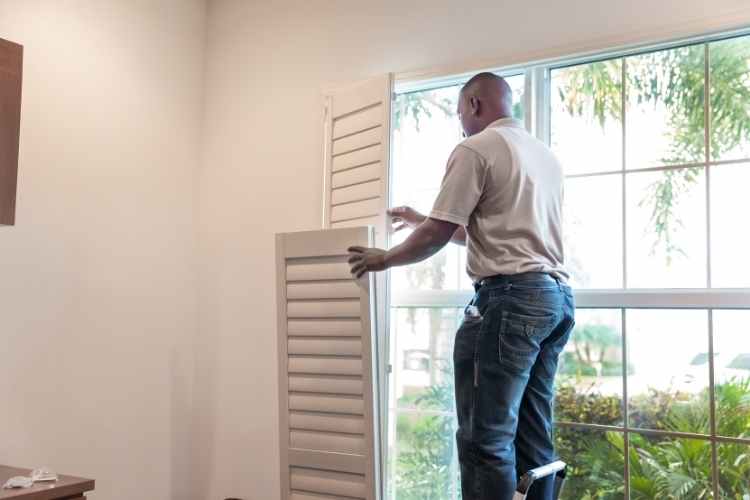
Did you know that analysts predict the global shutter market value to surpass $69 billion by 2025? Shutters are growing in popularity as they’re an easy way to add character to a home.
Have you considered exterior window shutter installation for your home? The best window shutters are only as good as their positioning and mounting.
The following guide will explain how to install window shutters the right way to enhance the look of your home. Read on for an easy way to add curb appeal to your property.
Positioning for Window Shutter Installation
Position your shutter pieces properly before installation. Typically, the bottom rail of a window shutter is wider than the upper rail. If you’re uncertain about placement, consider freemangeneralcontracting.com for installation assistance.
Make sure to leave a 1/4-inch gap between the shutter and window trim. The gap allows room for contractions and expansions due to changing temperatures. However, stationary wood shutters don’t require a gap.
Use a level to make sure the shutter is flush. Then, mark the locations of the shutter’s outside corners using a pencil.
Drilling Mounting Holes
Mark mounting hole locations 2-inches from the top and 2-inches from the bottom in the middle of both side rails.
Shutters higher than 44-inches need one fastener near each corner and two more fasteners in the middle of the side rails.
Use a 1/4-inch drill bit to drill holes for the shutter locks using your reference marks. Adjust the hole placement as needed for brick exteriors to match mortar joints.
Drill Holes in the Wall
Place your shutter against the wall and use its holes as a guide. Then, drill 3 1/4-inch pilot holes into the wall’s surface. You can use tape on your drill bit to measure depth.
Remove the shutter and enlarge each of its holes using a 3/8-inch drill bit. Remember to wear protective eye gear while drilling into the shutter and exterior surface.
Attach the Shutter
Position your shutter and push the locks through the holes in the shutter and exterior surface.
Gently tap the fasteners using a hammer to secure the shutter to the wall.
Don’t overtighten the fasteners because it can cause warping or dents on vinyl shutter surfaces.
Installation With Screws
You can also use metal screws with painted heads to install shutters, but the process is slightly different.
For example, the pre-drilled holes in the shutter should be 11/64-inches instead of 1/4-inches. Enlarge the holes in the shutter using a 5/16-inch bit after making pilot holes in the wall.
Position the shutter and use a screwdriver and screws to secure the shutter to the surface. Don’t overtighten the screws to avoid warping and dents.
Ready To Install Your Shutters?
Now you know the basics of window shutter installation. It’s a simple process that only takes a few hours. Remember to prioritize positioning, make correctly-sized pilot holes, and decide if you’re going to use locks or screws.
Check out the rest of our site for more helpful advice and fascinating information.

